Task Sesi 4: Linux and Unix Administration 2
Project Challenge
Project Challenge
- Set up 2 servers on VirtualBox
- Configure the 2 servers to connect via SSH without a password
- Create a file named server1.txt on server1
- Create a cron job to automate sending the server1.txt file from server1 to server2 at a specified interval
Step 1: Setup Two Servers
Since i am using MacOS i will use UTM to set up my virtual machine. I will use Ubuntu 24.04 LTS as my server. For details my server setup:
| Server 1 | Server 2 | |
|---|---|---|
| user | u24-1 | u24-2 |
| server-name | u24-1 | u24-2 |
| IP | 192.168.64.9 |
192.168.64.8 |
| OS | Ubuntu 24.04 LTS | Ubuntu 24.04 LTS |
| RAM | 2 GB | 2 GB |
Setup Server Already success
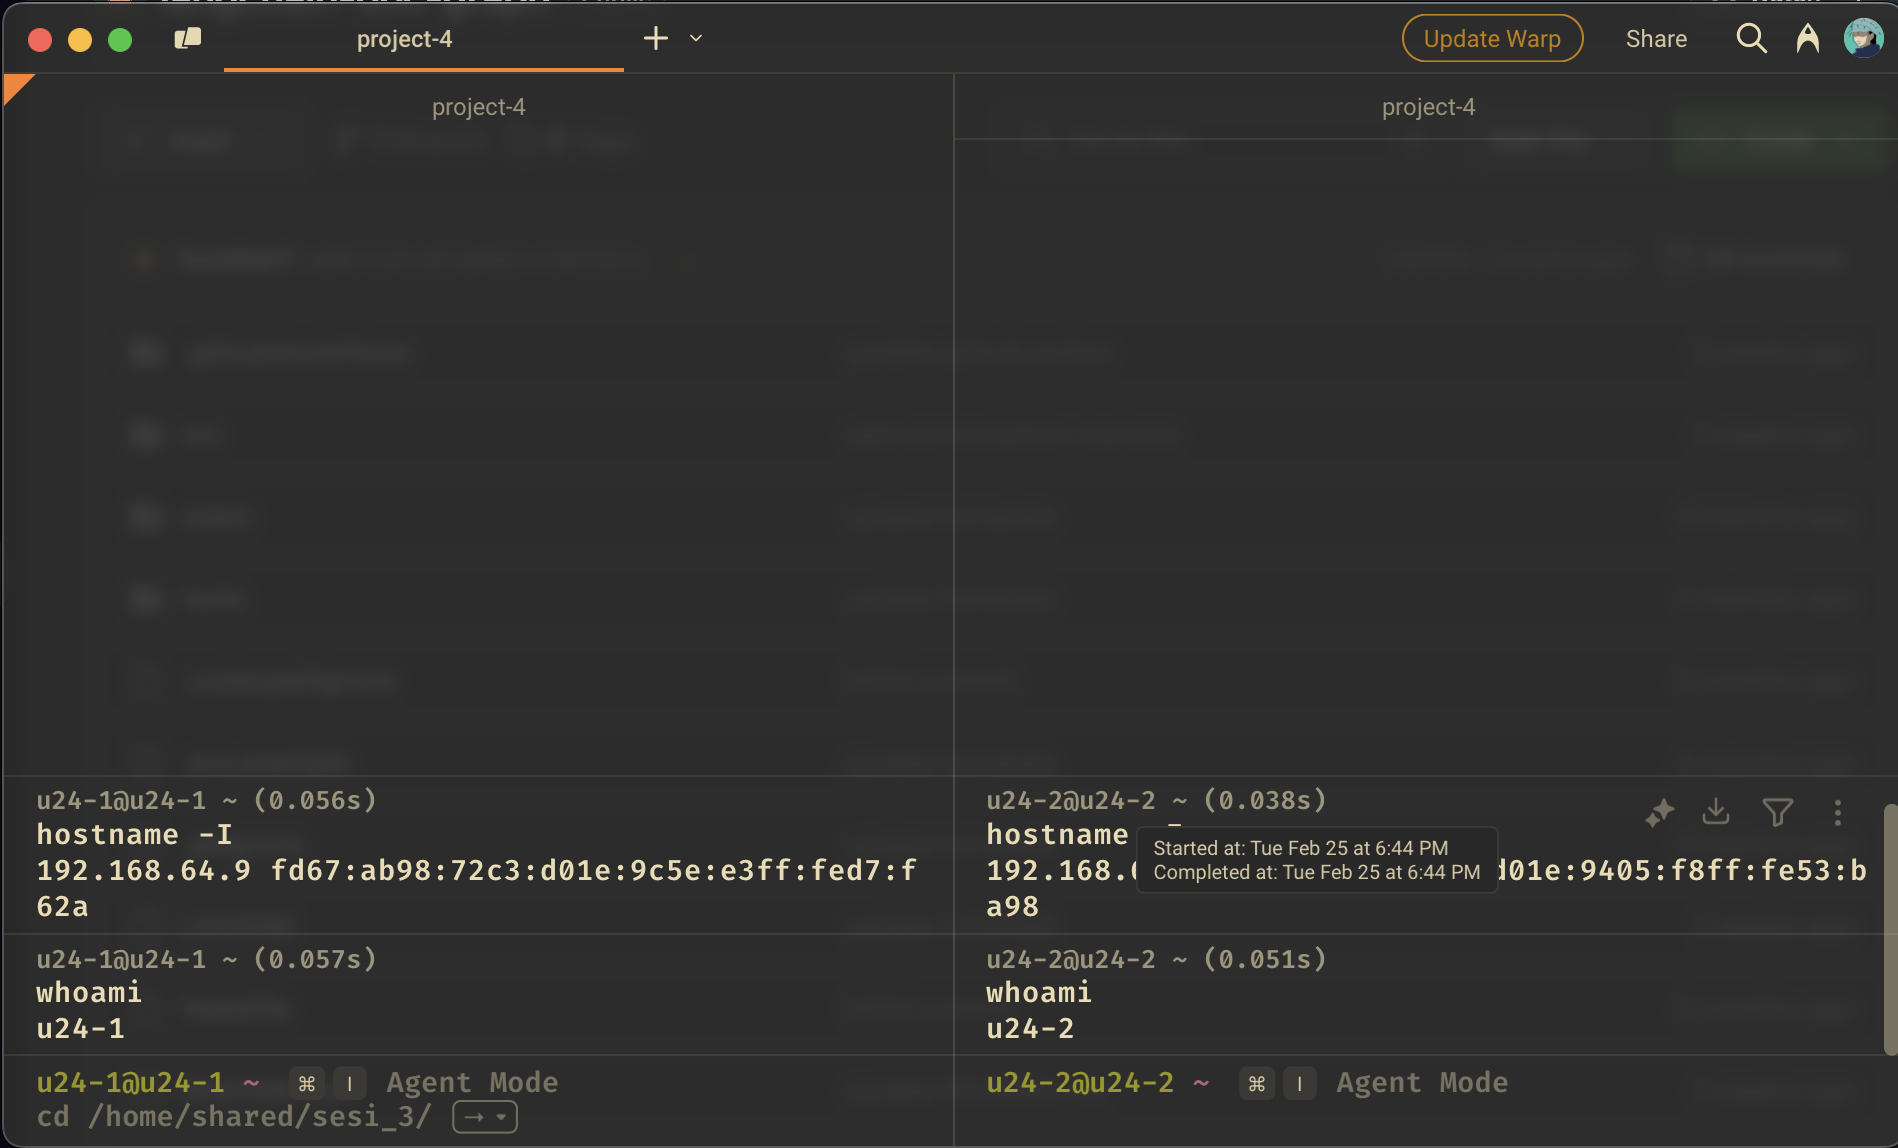
left side is server1 and right side is server2. Both server successfully setup and i can access both server using SSH.
Step 2: Configure Passwordless SSH
Workflow
sequenceDiagram
    participant S1 as Server 1
    participant S2 as Server 2

    S1->>S1: ssh-keygen -t rsa
    Note over S1: Generates:<br>~/.ssh/id_rsa (private)<br>~/.ssh/id_rsa.pub (public)

    S1->>S2: ssh-copy-id u24-2@192.168.64.8
    Note over S2: Adds Server 1's public key to<br>~/.ssh/authorized_keys

    S1->>S2: ssh u24-2@192.168.64.8
    Note over S1,S2: Passwordless SSH successful

    S2->>S2: ssh-keygen -t rsa
    S2->>S1: ssh-copy-id u24-1@192.168.64.9
    S2->>S1: ssh u24-1@192.168.64.9
    Note over S1,S2: Bidirectional passwordless SSH
On Server 1
-
Generate an SSH key pair:
More Detail
this command will generate 2 key (files):
-
private key:
~/.ssh/id_rsaprivate keyis secret key, should be kept secret.DO NOT SHARE THIS KEY -
public key:
~/.ssh/id_rsa.pubpublic keyis the key that you can share to other server. This key will be used to verify your identity.
-
-
Copy the public key to Server 2:
This command will copies your public SSH key (located:
~/.ssh/id_rsa.pub) to the remote server's authorized_keys file.or manually copy the public key to server2
Copy the output and paste it to
~/.ssh/authorized_keyson server2
On Server 2
It same as above: Generate an SSH key pair and copy the public key to Server 1
Step 3: Create server1.txt on Server1
On Server 1, I created a dynamic file that updates every minute:
Add this line:This appends a timestamped message to /home/u24-1/server1.txt every minute because of */1 in the first column.
Step 4: Automate File Transfer with Cron
On Server 1, set up a cron job to copy server1.txt to Server 2 every 5 minutes:
Add this line:
scpsecurely copies the file over SSH.- Check log cron using
grep CRON /var/log/syslog | tail -5. It will show the last 5 cron jobs.
Full Crontab Configurate
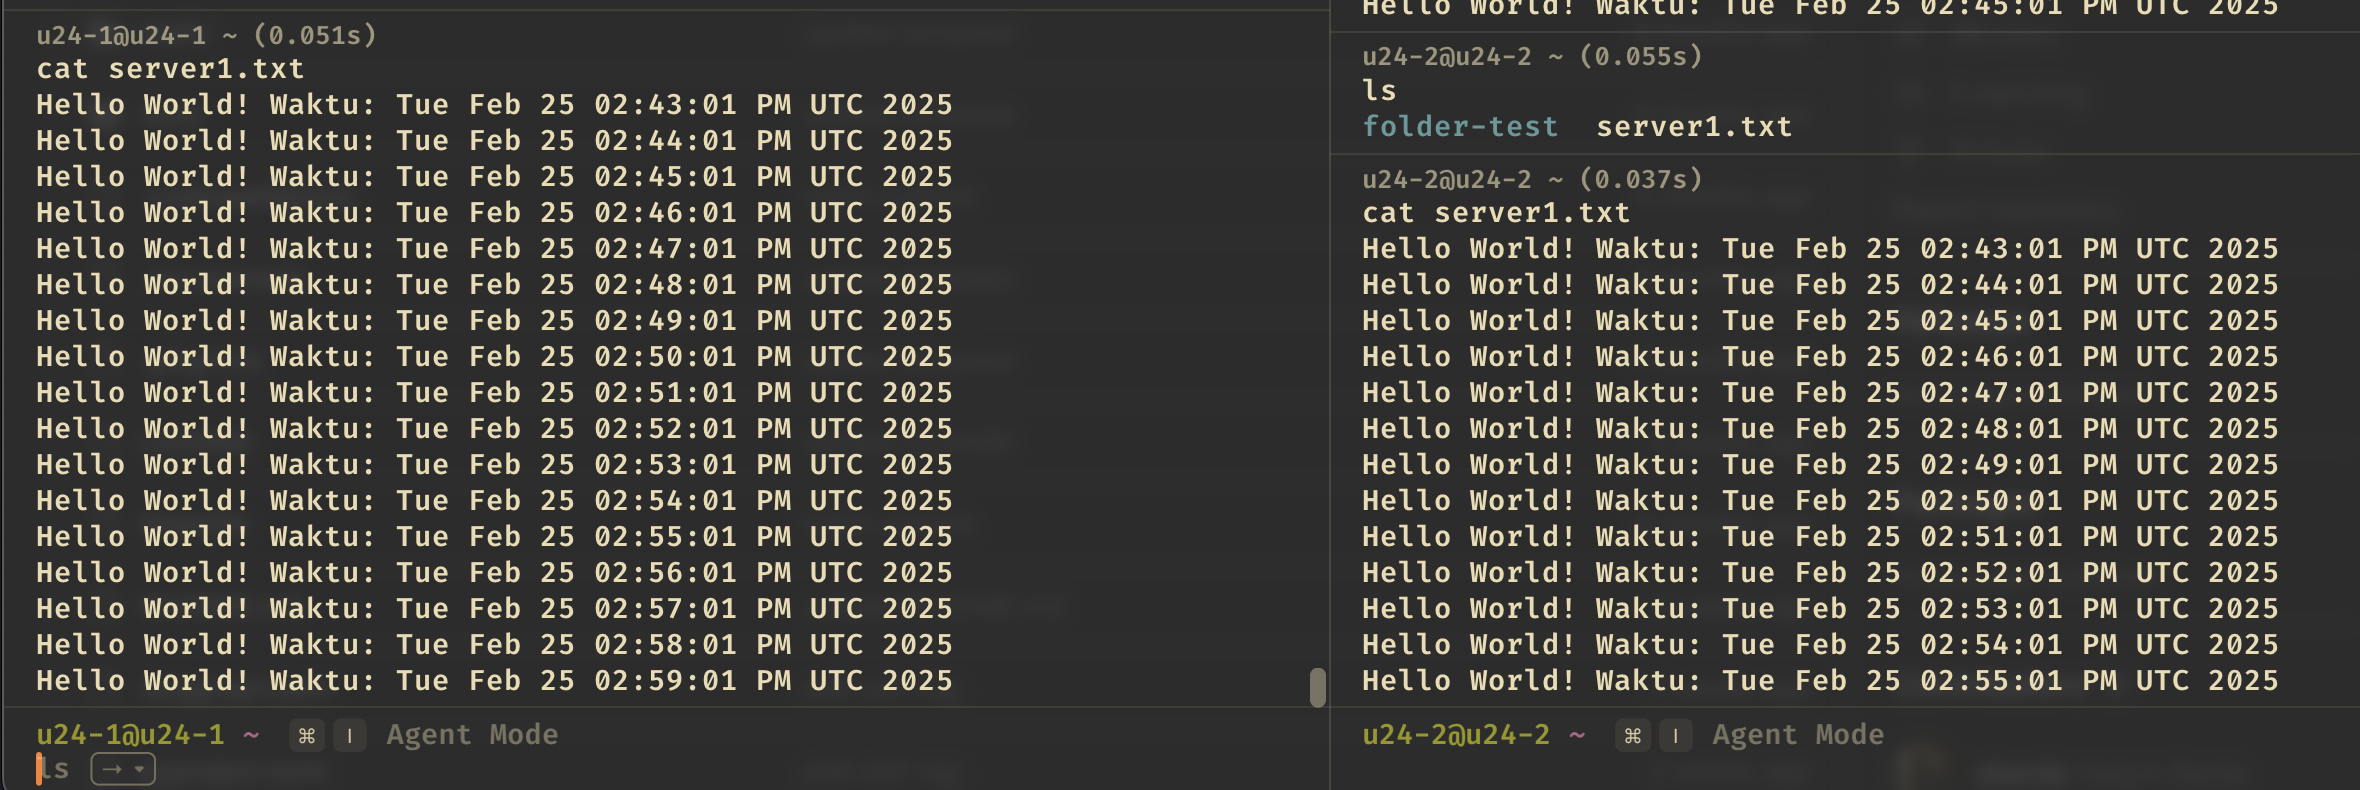
Result
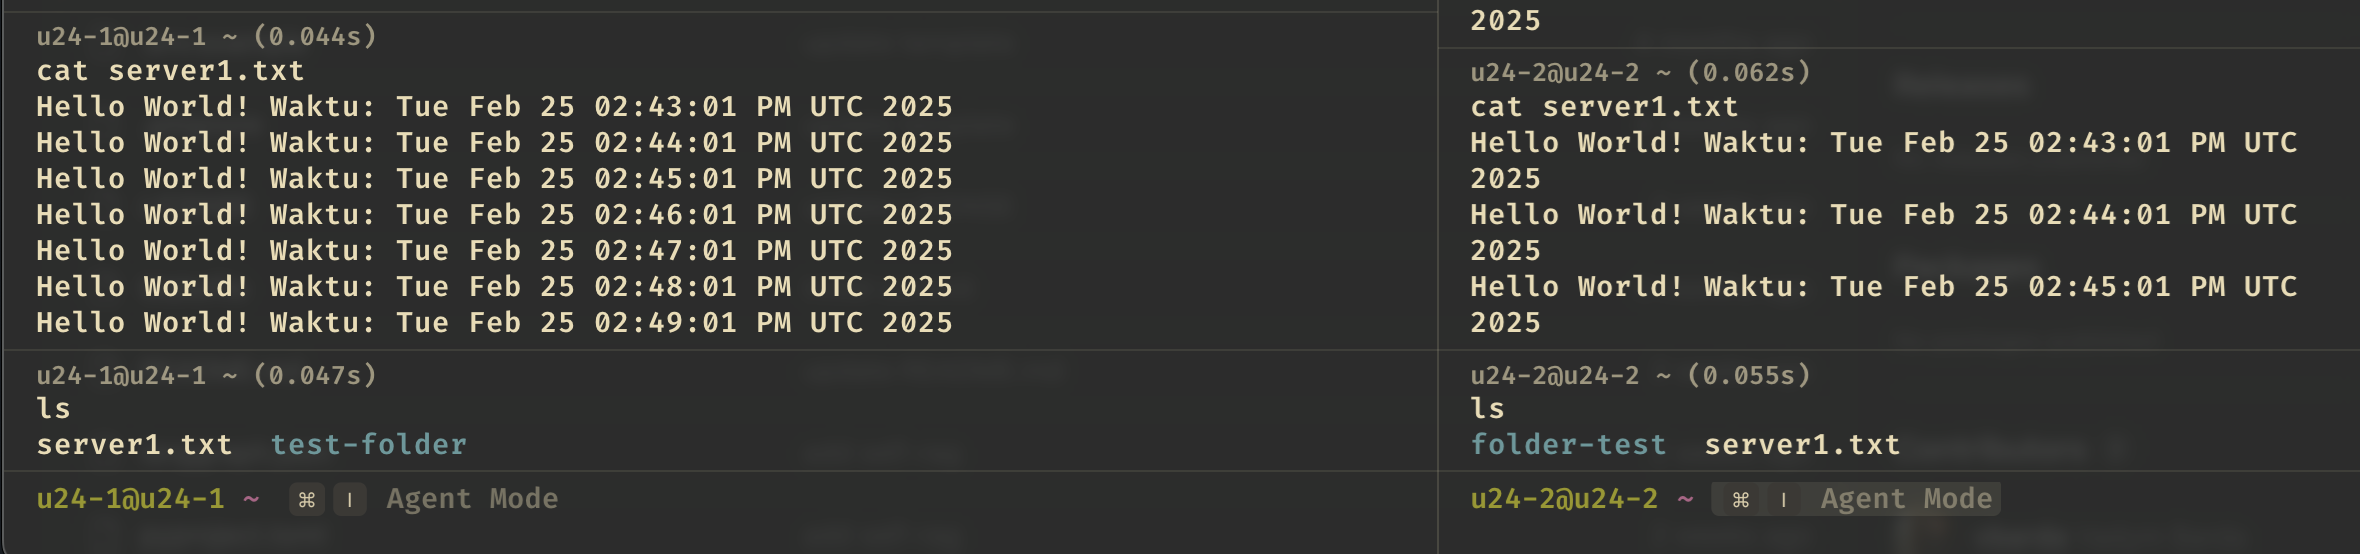
left side is server1 and cron job that will append Hello World! Waktu: $(date) to server1.txt every minute. and cron job that will copy server1.txt file from Server 1 to Server 2 every 5 minutes.
right side is server2 and will see the result of server1.txt file that copied from server1. after waiting another 5 minutes, the condition will be like this: